Now you might be thinking "Well, I'd looooove one of those awesome post signatures.....but how the heck do I make one?"
Never fear......because I am here with a tutorial!
There's several different ways to do this. For my first two signatures, I used MyLiveSignature.com.
But I really wasn't loving those. So I decided to create one using (what else) Picmonkey!
STEP ONE:
Go to Picmonkey. Click design, and then click on Facebook cover.
STEP TWO:
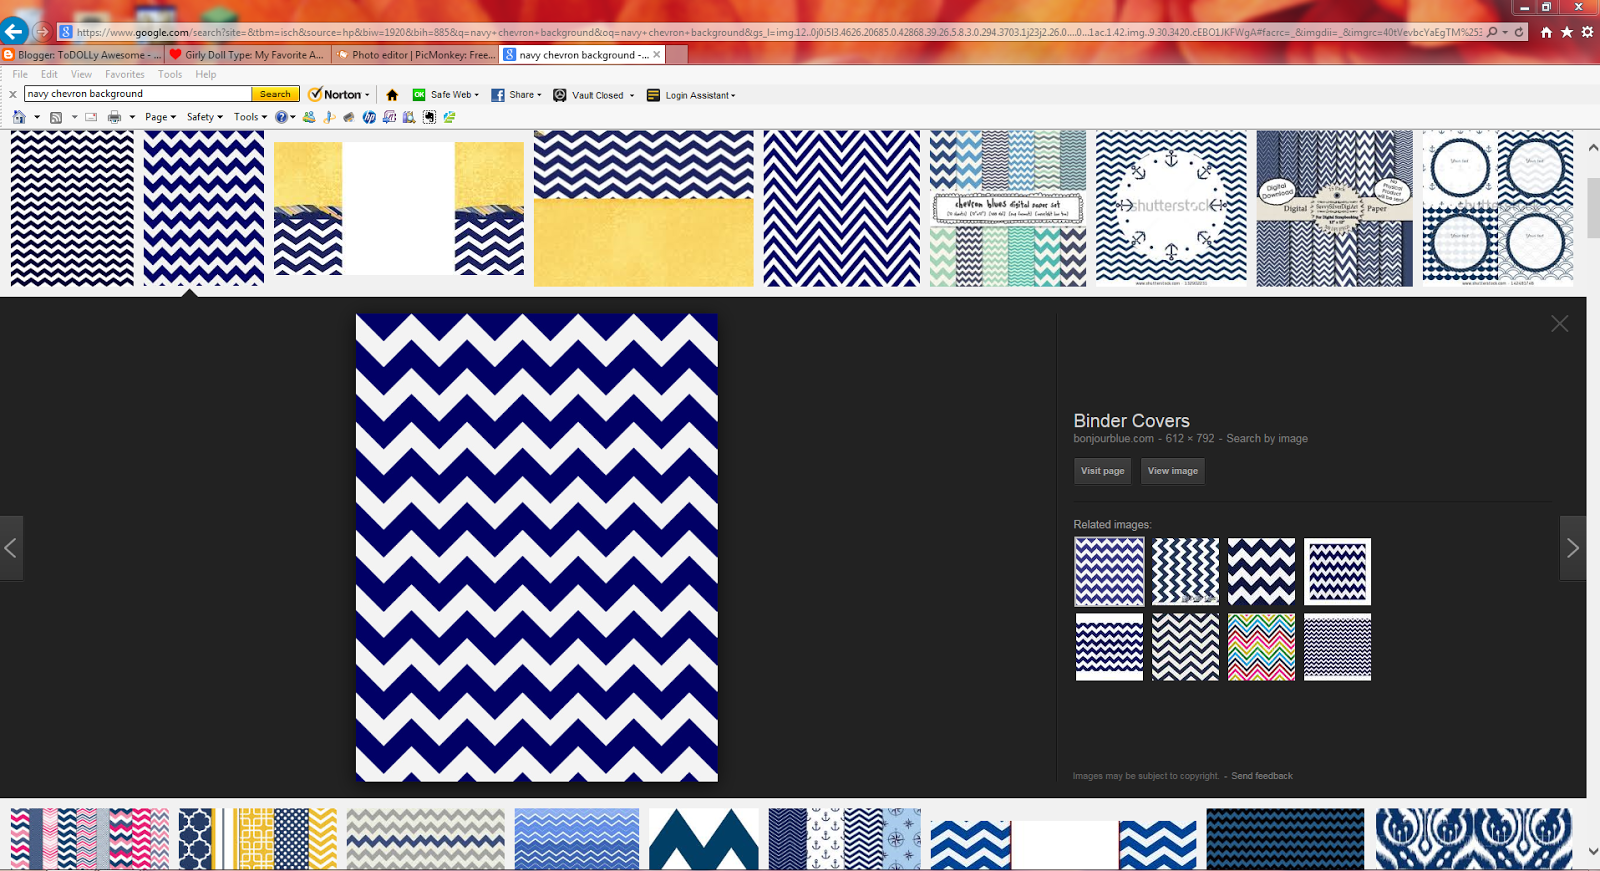
Open a new tab and go to Google Images. Type in whatever pattern you want to have on your signature. Hmm....I want navy chevron!
Pick whatever suits your fancy. IMPORTANT: Make sure the picture isn't 'grainy' at all because it will be magnified tenfold when you put it on your signature.
To save your background, right-click, select 'save picture as' and save it to your computer.
STEP THREE:
Okay, back to Picmonkey.
Go to Textures on the side options and click Your Own. To put it on your canvas, click Open My Texture and find it in your libraries.
STEP FOUR:
Ok, it's up! Now go to Text and play around with fonts and colors. That's is my favorite part!
You can also go to Overlay (the little butterfly) and mess around with the clip art there.
AND.....
YOU'RE DONE!! YAY!!
Oh, and my girls made their own signatures for when they post!
Signing off.....


how do you get the signature onto blogger??? Plz answer soon! Thx!
ReplyDeleteEmily
Save your signature to your computer by clicking the save button at the top, click upload on the pictures part of blogger, and find the signature. Hope that helped!!
DeleteThank you lots!!!!! I had always wondered how to do this and now i know! Thanks again!! Great blog too! It really cute!
ReplyDeleteEmily
Thank you!!
ReplyDelete